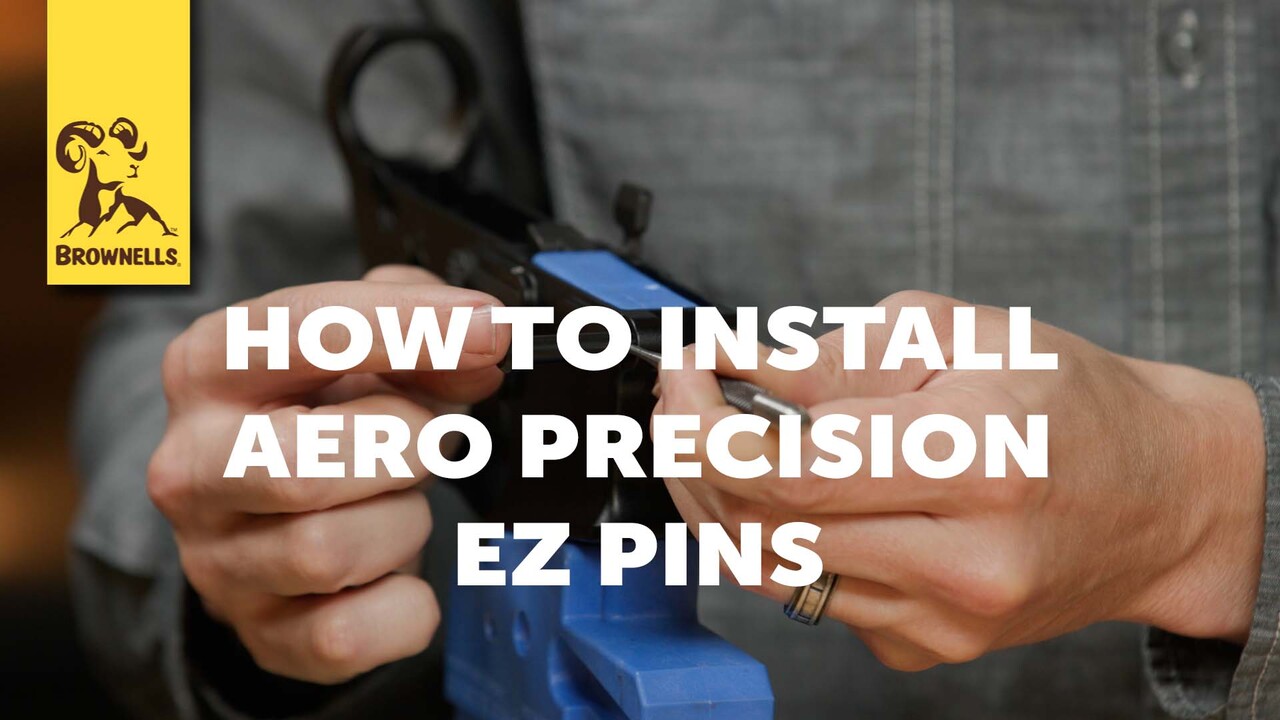
Quick Tip: How to Install Aero Precision EZ Pins
In this quick tip video, Caleb from Brownells demonstrates how to install the Aero Precision EZ Install Pivot and Takedown Pins on an AR-15. These pins are designed to simplify the installation process, especially for those who have struggled with traditional mil-spec pins.
What You Will Learn
By watching this video, viewers will learn how to efficiently install Aero Precision's EZ Install Pins, gaining insights into the advantages they offer over standard mil-spec pins. The tutorial provides practical tips to prevent common installation issues, such as detent springs flying out, and emphasizes the ease of use these pins provide.
Benefit
The benefit of watching is acquiring the knowledge to perform a smoother, more reliable assembly of your AR-15, enhancing both the building experience and the firearm's maintenance
Introduction
Hey everyone, Caleb from Brownells here. Today, I'm excited to bring you a quick tip on how to install the Aero Precision Easy Install Pins on your AR-15. If you’ve ever struggled with installing the takedown and pivot pins, you’ll appreciate how these pins simplify the process. Let’s dive right in and see how these pins compare to standard mil-spec pins and why they might be the perfect upgrade for your AR-15.
Overview of Easy Install Pins
First off, let’s talk about what these Easy Install Pins are. Aero Precision designed these pins to make the installation process easier, especially when it comes to the takedown pin and the pivot pin. These are the two pins that allow you to disassemble your AR-15 for cleaning or maintenance, and they can sometimes be a bit tricky to install.
Differences from Standard Mil-Spec Pins
When you look at the Aero Precision Easy Install Pins, you’ll notice they aren’t dramatically different in design from standard mil-spec pins. The takedown pin, in particular, is almost identical to its mil-spec counterpart. The main difference is in the aesthetics: the Easy Install Pin has a concave surface, whereas the mil-spec pin has a convex, dome-shaped surface. This concave design makes it easier to push out the pin using a tool without slipping. Additionally, the Aero Precision pin has a dimple on the opposite side, making it even easier to manipulate.
Installing the Pivot Pin
Now, let’s move on to the pivot pin, where things get a bit more interesting. The Aero Precision Easy Install Pivot Pin features an extra hole that sets it apart from the standard mil-spec pin. This hole allows you to feed the detent and spring into the receiver more easily, combining the functionality of a dedicated pivot pin installation tool directly into the pin itself. Using a Punch Tool To install the pivot pin, you’ll need a punch tool, which you should already have if you’re assembling AR-15s. After positioning the pin so that the hole aligns with the receiver, you can feed the spring and detent into the hole. Then, use the punch tool to push the detent into the hole while sliding the pin further into place. As you remove the punch, the pin locks into the correct position, securing everything neatly. Locking the Pin in Place Once the pivot pin is in place, you’ll hear a satisfying click as it locks into the channel. This click is the indicator that the pin is securely locked and ready to function. You can then push the pin all the way in, completing the installation process. The design of these pins makes installation smoother and helps prevent the common issue of detents flying off into oblivion—a frustration I’m sure many of you are familiar with!
Additional Features and Final Thoughts
What’s cool about the Aero Precision Easy Install Pins is that they utilize the space efficiently. Even though they might look a bit longer than standard pins, they’re only about 20 thousandths of an inch longer—a difference so small it’s almost negligible. This extra length doesn’t affect functionality but does give you that little bit of extra ease during installation. Closing Remarks And that’s all there is to it! The Aero Precision Easy Install Pins are a great upgrade for anyone looking to make their AR-15 assembly process a bit easier and more efficient. If you have any questions or comments, whether you’re watching this on YouTube, Rumble, or any other platform, feel free to leave them below. And as always, if you need help with anything, don’t hesitate to reach out to us on the Brownells tech line—we’re always happy to help. Thanks for joining me, and I’ll see you next time!


